

1. Set up your Caregiver Portal Account
The Caregiver Portal is where you control the phone. You can use a browser on your computer or phone, or our Caregiver Portal app.
During setup you'll create a username and password for you, as well as a different one for your child. You'll use the child's password during setup to login to the phone. Be sure to keep your password secure (and log out if your child ever has access to your device).

2. Connect the phone to your mobile network
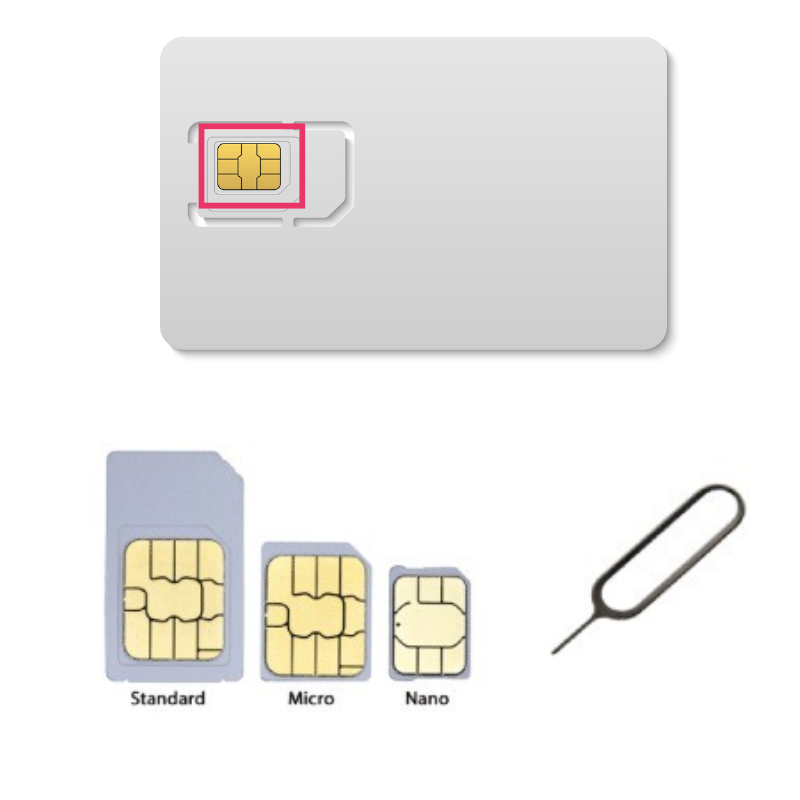
To make calls and send text messages, you'll need a SIM card. Get a SIM card from your mobile network and activate it using their instructions.
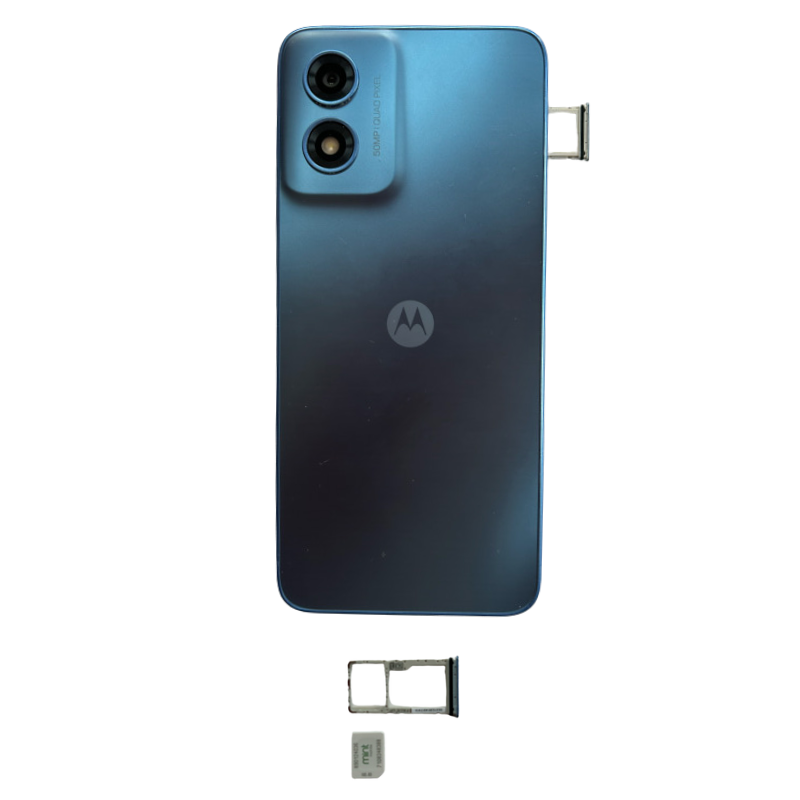
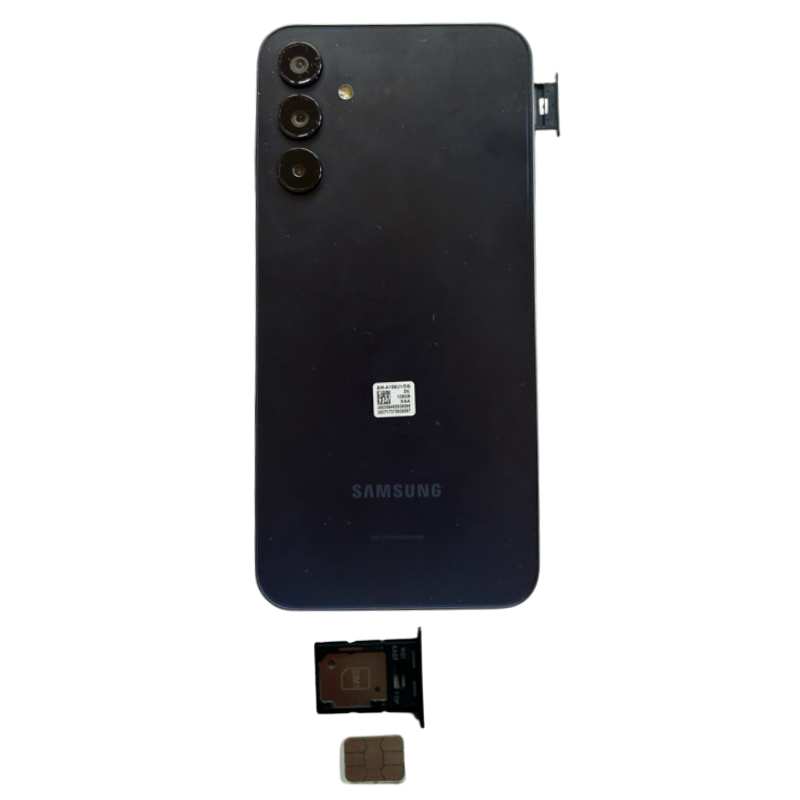
First punch out the SIM card so that you have the smallest size. Then use the ejector tool to open the SIM tray on the side of the phone, as shown below.
3. Power on the phone and login as your child
Power on the phone by holding down the power button. It's usually on the side and sometimes you have to hold it for a few seconds.
Connect the phone to your wifi network by swiping down from the top and entering your credentials. If it asks you whether to run Pinwheel, choose Always Run Pinwheel.
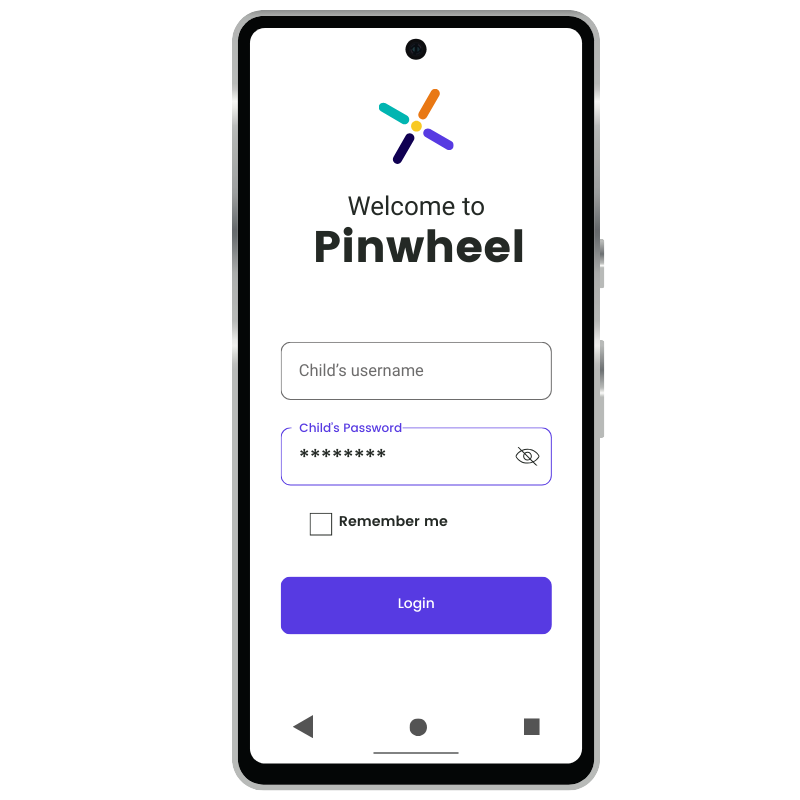
Login to the phone with your child's username and password that you created in Step 1. The phone will likely buzz as it receives the latest updates, but it's ready to go!
Continue reading to learn how to set up contacts, apps and schedules.
Apps
Most apps in the world have hidden access to the web, adult content, social media, and other elements that may not suitable for your kid.
Pinwheel investigates apps in our App Library thoroughly. We block the loopholes we can block, and we give in-depth safety ratings so you can make informed decisions about apps to approve.
To download an app to your child's device, click on Apps on the menu in Caregiver Portal, browse and read the information, then click Install. Clicking Manage allows you to decide when the app will be available.

Schedules
Scheduling lets you allow different things on your child's phone at different times. Schedules are daily templates made up of Modes. Modes allow for apps and contacts to be enabled and disabled as a group.
For example, Bedtime Mode might allow only an alarm clock and music player (emergency contacts are always available). The Schedule might show Bedtime Mode ON from 9pm - 6am.
Create Modes
Use the Create Mode button to build a mode from scratch, or edit an existing mode
Select the apps and contacts your child can access in that Mode
Use the Daily Schedules section to insert Modes into a timeline.

Create Daily Schedules
Daily Schedules are made up of Modes.
Use the Create Schedule button to build a daily schedule from scratch, or edit an existing dayClick on an existing Mode on the timeline (i.e. Everything Mode) to choose when it should begin and end.

Assign Daily Schedules to Calendar Dates
Daily schedules can be assigned to different types of days (e.g. school days, weekends, holidays, etc.). In the calendar section, click the drop-down to apply a different saved schedule to that date; repeat as needed.

Temporary lockdown
The "Schedule override" switches: Temporary Lockdown and Temporary Allow All allow you to change the state of the phone quickly.

GPS location notifications
To receive notifications when your child departs or leaves a place, like home or school, set that place up as a Saved Location and turn on notifications.
On the dashboard, click Saved Locations and Add New. Find the address, set the radius and notifications preferences (how often to send them, etc.).
